Excel 2016: Customize The ‘Quick Access Toolbar’

3 easy ways to customize your Excel sheet
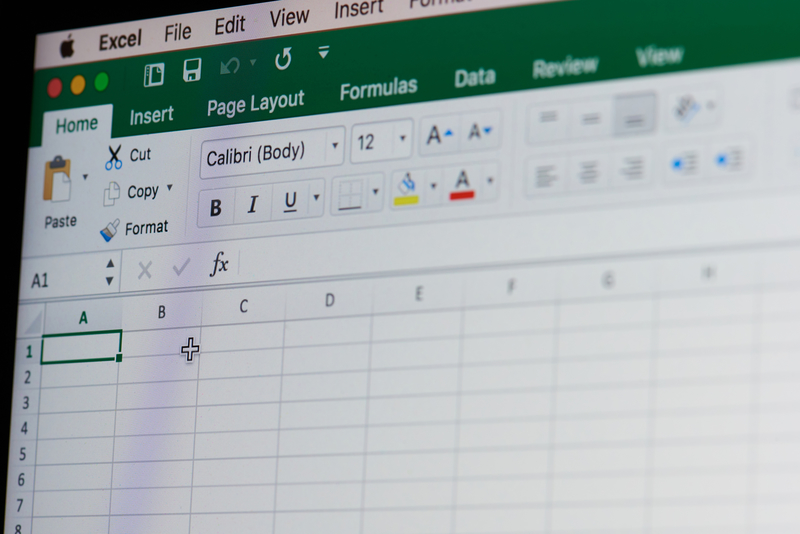
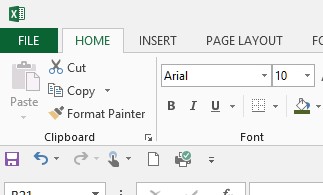
Excel, as one of the most helpful programs in ones computer or laptop, has evolved into something more powerful this year. Aside from our favorite functionalities and features, Windows added more enhancements and improvements for the benefit of their users under its new version – Excel 2016. A very useful tool, the Quick Access Toolbar, is still present in the said program. It is found not only in Excel, but also in other programs of the Office package like Word, PowerPoint and Outlook. Customizing this toolbar based on one’s need and frequent usage is a huge help in conserving time while using the platform.
The Quick Access toolbar, originally, is situated at the top left of the screen above the File menu. However, it can be moved below the Ribbon to give the user plenty of space for adding icons. It can be done by clicking the dropdown arrow found at the rightmost part of the toolbar and choosing the “Show Below the Ribbon” option.
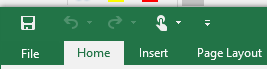
Initially, there are only a few icons on the Quick Access Toolbar, listed below:
- Save
- Undo
- Redo
- Touch – this changes the Ribbon giving more space between icons for use with a touch device
These icons can be customized based on your own preference. There are three easy ways, listed below:
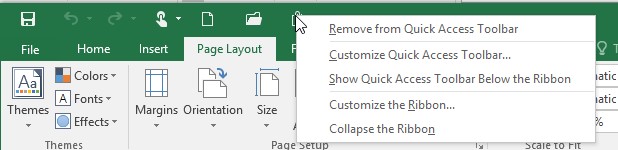
1. Clicking the Dropdown Arrow

- Click the drop down arrow on the right of the Quick Access Toolbar.
- Choose and select from the list of frequently used icons and it will be added to the toolbar.
- Remove the tick from the drop down list so that the icon will be removed.
2. Right Click
- When you find an icon that you use all the time, you can save yourself a little time by using the Right Mouse button to add it.

- Just like adding, you can also right click to remove an icon.
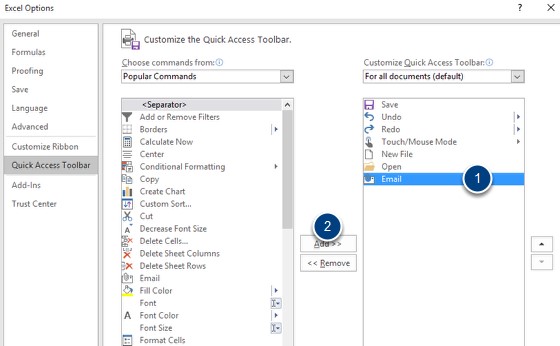
3. Choosing the “More Commands” option
You can choose between hundreds of icons can be added to the Quick Access Toolbar, depending on your nature of work. To see them, follow the steps below:
- Click the drop down arrow on the right of the Quick Access Toolbar
- Select “More Commands”
- Choose from the different selections of icons available.
Adding Icons
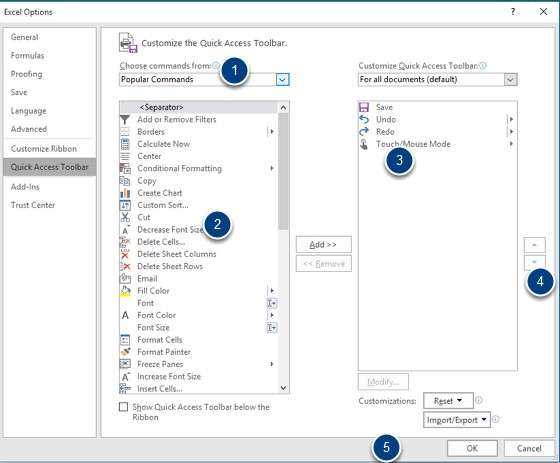
- Drop down list of icons’ different categories
- Available icons in the category displayed – double click to add
- Icons currently on the Quick Access Toolbar
- Move the icons up and down using spinners
- OK
Removing Icons
- Select the icon you wish to remove
- Click Remove
We have even more useful articles:
Excel 2016: 3 Simple Steps to Hide and Unhide Portions
“How to Format Cells and Worksheets”
“Essential Facts About Worksheets and Workbooks and How to Utilize Them”