Creating New Workbooks Using Templates

Create a Workbook from a Template

Figure 68- create a new workbook from a template
- Click File
- Click New
- Select the template you want to use from those displayed
Search for a Template
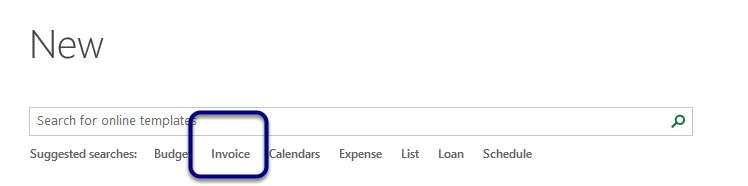
Figure 69- search for a template online
In Excel 2013 you can search for many more sample templates on line if the local ones do not meet your needs. I want to create an Invoice template
Click on the Invoice shortcut under the search bar at the top of the window.
Excel will bring you a list of templates to match your search
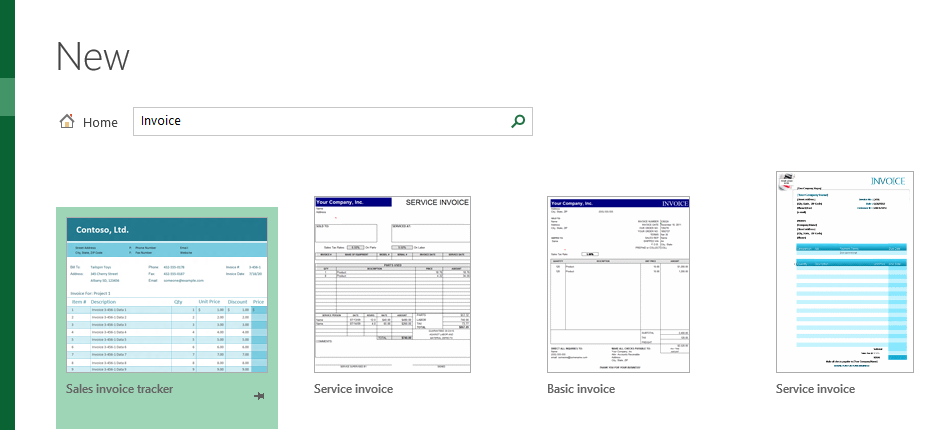
Figure 70- see a selection of templates that match your search
Changing worksheet order
If the worksheets in your workbook are not in the right order, you can drag and drop them into the order you need.
Move worksheets around

Figure 71- move a worksheet around
I would like to place the Coffee Sales worksheet at the front of the tabs
- Click and drag – you will see a little arrow and a picture of a page
- Drop the worksheet in the location you require.

Figure 72- in its new position
Hey presto!
Move or copy to a different workbook

Figure 73- decide where you want to place the worksheet or the copy
- Follow the same process as before:
- Right click on the sheet tab you wish to move or copy
- Click on Move or Copy
- In the dialog box that pops up select where you want to move the worksheet to (1)
- Select where you want the worksheet within the workbook (2)
- If you want a copy, tick the Create a copy box (3)
- Click OK
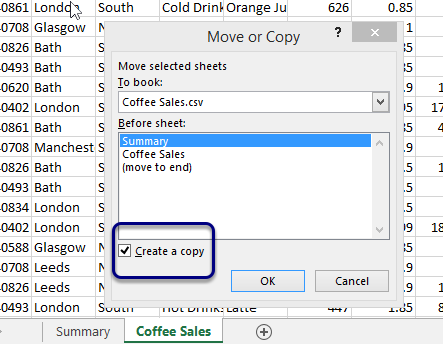
Figure 74- when creating a copy make sure to tick the box
- Select where you want the copy to be placed
- Click Create a copy – it should have a tick (otherwise it will move!)
- Click OK
Copy created
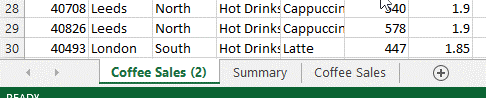
Figure 75-the copy has a number (2) next to it.
I now have a copy of Coffee Sales – called Coffee Sales (2) in front of the Summary sheet which is where I told it to go. If you click into the text “Coffee Sales (2)”, you can change the name of the worksheet.
I hope you enjoyed this article! Please feel free to share it with friends and colleagues.
You might also want to check out other Excel blogs such as “How to make Excel files compatible with older MS Office versions”, “Remarkable features of the quick access toolbar in Excel 2013” or “Best Excel 2013 tricks: Naming a Cell” and “How to add value to workbooks in Excel“.