How to format text in PowerPoint

The easiest way to make a presentation is to do it with PowerPoint. But maybe this time you would like your presentation to look a bit different. You might already know that you can format any text in PowerPoint, but did you know that you can also use WordArt in your PowerPoint presentation? Find out in this article how to change text to WordArt, insert columns and hyperlinks as well as how to apply formatting and styles.
Changing text to WordArt
Sometimes you may want to change the text and make it fancy. You can use WordArt for this.
- Select the text to change
- As you are in a text box which technically is a shape you should see the Drawing Tools Format Ribbon
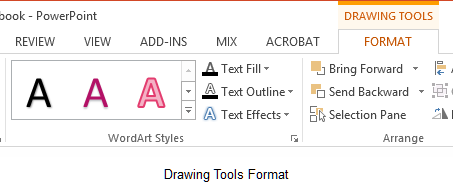
Figure 199- change text to WordArt
- In the WordArt Styles group select the style for the text you have selected.
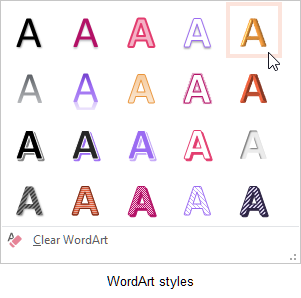
Figure 200- choose the style
The text will change
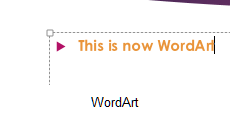
Figure 201- style applied
Creating multiple columns in a single shape
Now you can create columns inside a shape so if you want to have columns inside a text box this is what you do:
- Click on the shape in which you want to add columns
- Click on the Home Ribbon
- Click on the Columns icon
- Select the number of columns – for more than three click More Columns and type in how many you want.
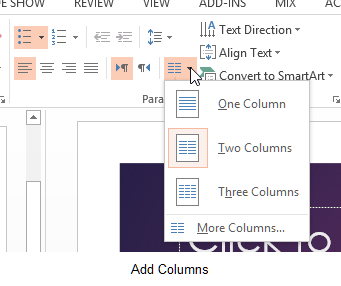
Figure 202- add columns to a shape
To adjust the spacing between the columns:
- Click on the shape or text box with the columns
- Click on the Home Ribbon
- Click on the Columns Icon
- Select More Columns
- Click on the Spacing up or down arrows or type in the specific size
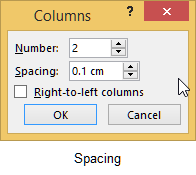
Figure 203- set number of columns
Inserting hyperlinks
Hyperlinks can take you to:
- A website
- Another slide
- Open another document – spreadsheet, or presentation
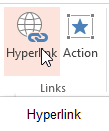
Figure 204 – hyperlink icon
Select the text or object you want to turn into a linkCreate a hyperlink
- On the Insert Ribbon click on Hyperlink
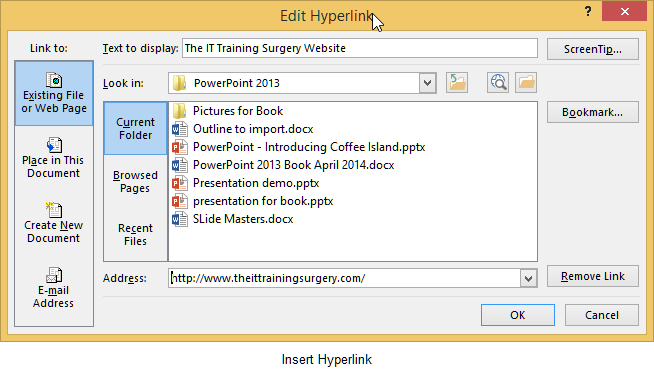
Figure 205 – add a hyperlink
Applying formatting and styles to text
Text can be formatted in the normal way by selecting it and applying various effects, for example, change the font, the colour, the size, text direction, apply a shadow, stretch, or change case.
You can also change the text direction, and set how the text aligns relative to the placeholder, top, middle or bottom.
You can even convert text to SmartArt.
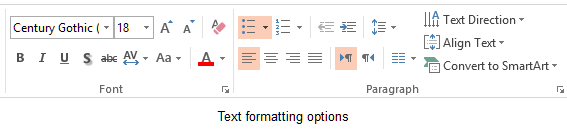
Figure 206- change style and formatting of text
Creating bulleted and numbered Lists
Bulleted lists make up the majority of text we see in many presentations. Be careful as too many lists or too much text is hard to read although a bulleted or numbered list is easier to read than a whole paragraph of text.
To create a bulleted list
In the standard placeholder, a bulleted list is the default setting for text entry – simply click in and type, when you press Enter, the next line will have a bullet.
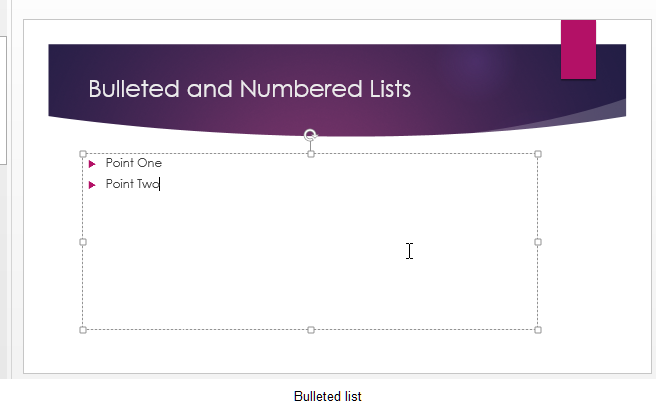
Figure 207- bulleted list
To turn standard text into a bulleted list:
In a text box:
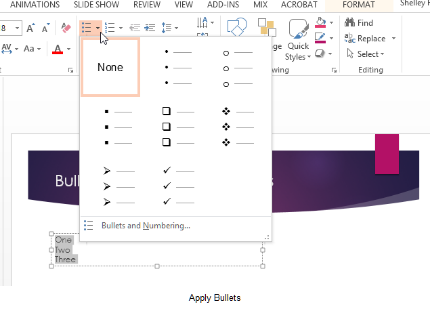
Figure 208- apply bullets
1. Type the text
2. Select the list
3. Click the Bulleted List icon
Note that you can click on the bullet icon to apply the standard bullets.
Click the drop down arrow to pick a different type of bullet from the gallery.
Once you click on the bullet you want, the list will change.
Change the look of the bullets
You can pick from the bullets on offer from the gallery or you can modify them and make them your own.
| 1. Click the Drop Down next to the Bullets Icon 2. Select Bullets and Numbering
| |
| 3. Click Customise | |
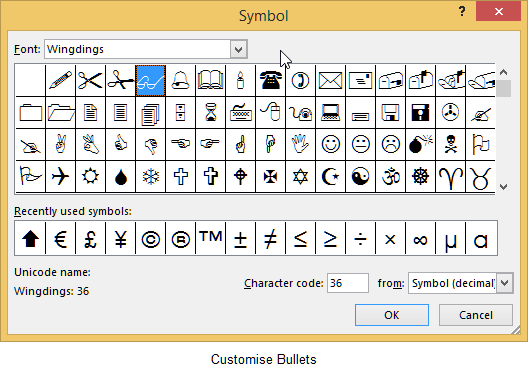
| 4. In the dialogue box – select a font set ( I have chosen Wingdings) Select the font then pick the image you want to use. Those images that you use frequently will appear along the bottom in the Frequently used symbols, you can simply click on them to insert.5. Click OK
| |
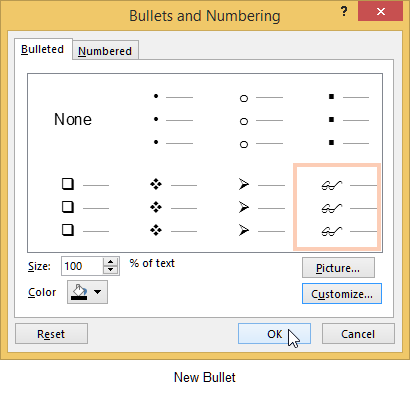
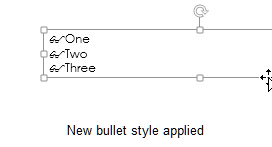
| 6. The new image will appear in the Bullets and Numbering Gallery 7. Click OK to apply the new bullet style to your list. Your list now has the bullets you chose applied!
|

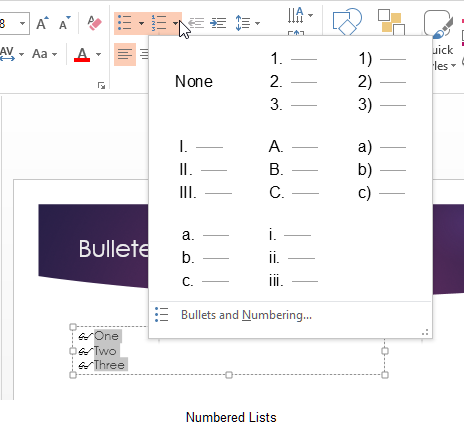
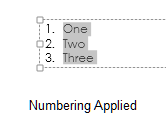
Create a numbered list
| 1. Select the list – it may have bullets applied or it may not | |
| 2. Click on the Numbering Icon 3. Select the Number format you want to use
| |
| 4. The number format you chose is applied
|
We hope you found this article helpful and learned something new. You might also want to check out other PowerPoint blogs such as “How to present a PowerPoint presentation online”, “3 Simple Ways to Make a Creative Design in PowerPoint” or “How to use masters in Power Point 2013“