How to add value to workbooks in Excel

Workbook Properties allow you to add information about the Workbooks. You can easily add an author, a title or tag the workbook so that it can be found easily. Adding an author can for example be very practical, if more than one person is working with the document.
Check out our helpful tips to use Excel workbooks more efficiently. Just sit down and open Excel 2013. We will guide you through the steps, simply read on.
Where do I find Properties?
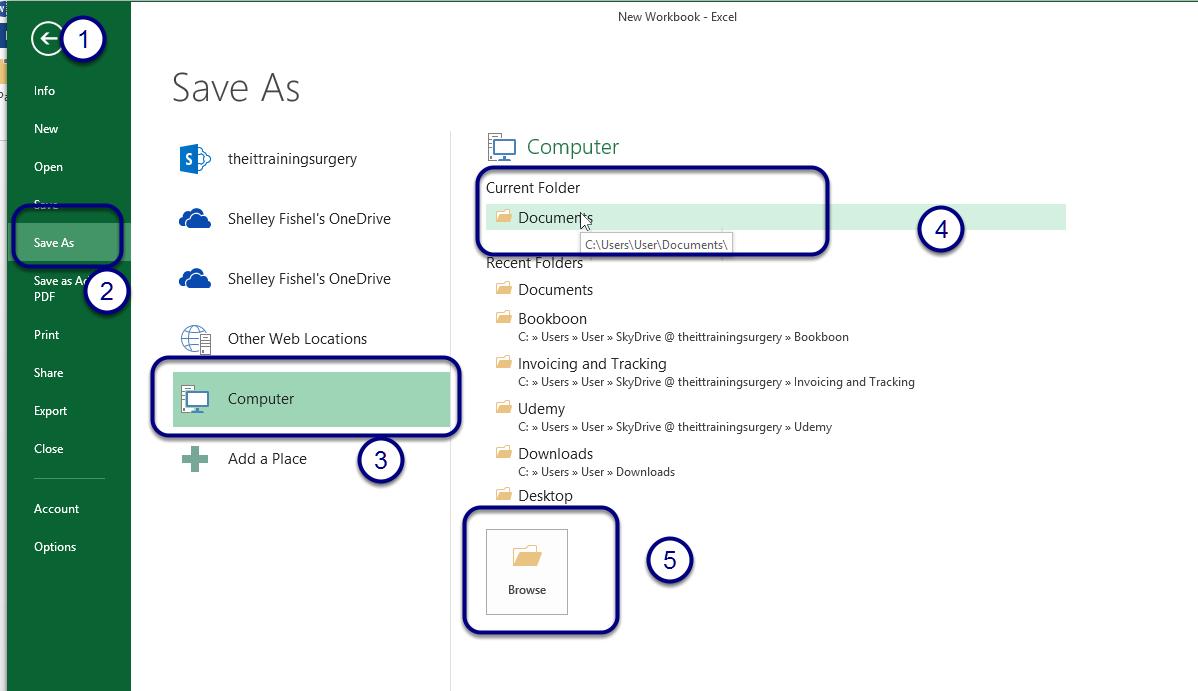
Figure 41- The Properties Panel
Click on File and then see Info
Properties are displayed on the right
Add an Author
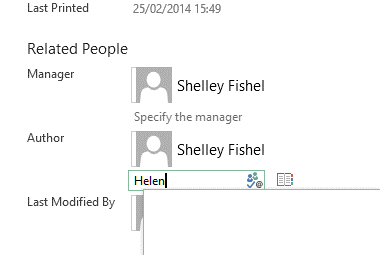
Figure 42- Add another author or change the author
You can type the name of another person to have them the Author or you could pick them from a list in the address book.
Properties will show you when the document was first created, last printed or modified and who the Author is.
Document Panel
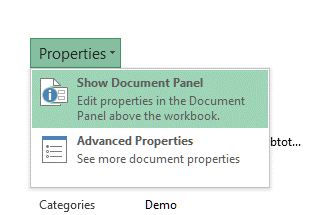
Figure 43- See the Document Panel to add properties
You can also edit Document Properties directly in a Document Panel above the workbook. Click Show Document Panel to turn it on.

Figure 44- The Document Panel
Here are the document properties for the Coffee Sales workbook.
Close the document information panel

Figure 45-Close using the x on the right
Click on the X in the top right hand corner of the document panel to switch it off.
Saving
Saving a Workbook for the First Time
There are several ways to save your work in Excel 2013. The icon on The Quick Access Toolbar, The File Menu and the Keyboard.
Saving your workbook for the first time
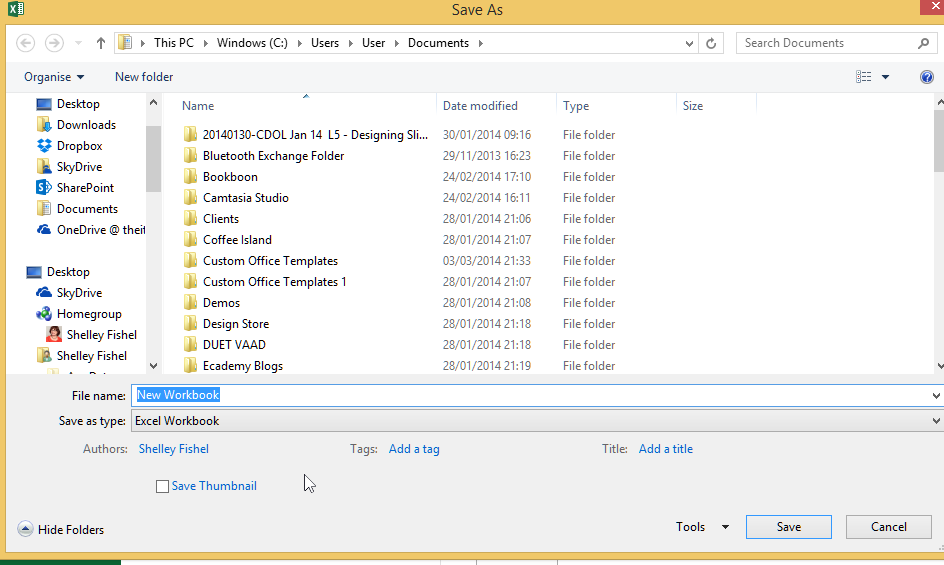
Figure 46-Name the workbook and set the location
When you save the workbook for the first time, you will be prompted for the location you want to save the workbook to, and for the name of the workbook.
Save a Workbook Quick Access Toolbar Method
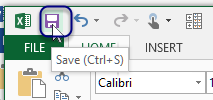
Figure 47-Use the Save icon
- Click the Save Icon on the Quick Access Toolbar
- Navigate to the folder where you want to save the workbook
- Type a name for the workbook
- Click Save
Save using the Keyboard
Press Control + S
This keyboard shortcut will save the workbook just like clicking on the icon. You will be prompted in the same way.
Saving with File As
Figure 48- Save as can do many things
- Click File
- Click Save As (2)
- Click Computer (if you are saving your document locally) (3)
- Select the folder from the list on the right (4)
- If you cannot see the folder you want to use, you can click Browse to navigate to the one you want (5)
- Type a name for the workbook
- Click Save
We hope you found this article helpful and learned something new. Don’t forget to share it with your friends or colleagues if you think they could benefit from this article.
You might also want to check out other Excel blogs such as “Remarkable features of the quick access toolbar in Excel 2013” or “Best Excel 2013 tricks: Naming a Cell” and “How to quickly create a chart in Excel“.