Essential Guide for Outlook 2013 Virgins


Outlook 2013 is very easy to use! For people jumping straight in from Outlook 2003 or earlier, there are a few changes you need to know about. Even if you have never used any version of Outlook before, we’ll have you feeling confident in next to no time. Here’s a real beginner’s guide for Outlook 2013 virgins to get you started. We’ll start with your home screen.
Guide for Outlook 2013 Virgins: Ribbons
The Ribbon
The Ribbon is present in Outlook 2010 and Outlook 2013 everywhere. All the tabs have tools arranged in groups and are organized logical.
The Home Ribbon

Figure 1- The Home Ribbon
Here you will find all the tools you need to create and respond to email.
[bookboon-book id=”0ccfb7e8-04f6-430a-a594-a34800d555dc” title=”This article is based on the following eBook”]
The Send Receive Ribbon
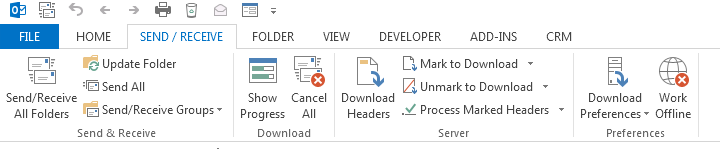
Figure 2- The send receive Ribbon
The Send Receive Ribbon provides all the tools you need to send and receive emails.
The Folder Ribbon

Figure 3 – The Folder Ribbon
Here you can create new folders and set up search folders and decide what to show in favourites.
The View Ribbon

Figure 4- The View Ribbon
On the View Ribbon you can change how the screen you are looking at is arranged. This ribbon will have different icons displayed depending on which part of Outlook you are currently using.
Guide for Outlook 2013 Virgins: The Toolbar
The Quick Access Toolbar
The Quick Access Toolbar is present across all of Microsoft Office and is a handy place to put your most frequently used icons. It lives at the top left of your screen.

Figure 5- The Quick access Toolbar
You can customise it with the Icons that you use most frequently
Adding an icon to the Quick Access Toolbar
To add an icon click the drop down arrow and select the icon from the list.

Figure 6 – add icons to the Quick Access Toolbar
If the icon you want is not on the list you can click More Commands (1)
More Commands
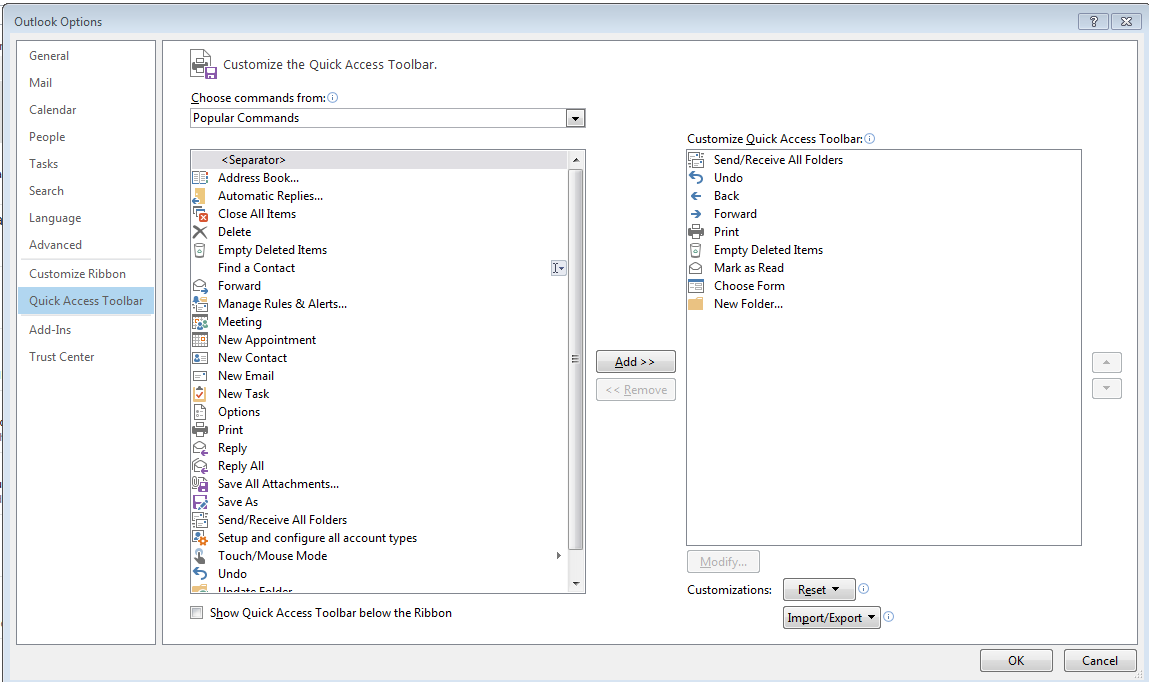
Figure 7- add more commands
Here you can see the Popular Command list on the left and the ones on your Quick Access Toolbar on the right. Find the one you want on the left and either double click to make it jump across or click on it and then press the Add button.
Click OK when done
Right click to add an icon
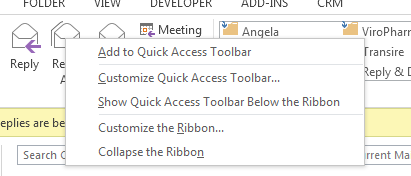
Figure 8 – right click
Right click then click on the icon you wish to add
Here in this guide for Outlook 2013 virgins, we have shown you:
• What the ribbons are and how to access them
• Where to find your short cuts and menus
• How to remove and add features on your toolbar
If you have any comments or queries, please feel free to ask and we will address them in a later post! Find more tips in Shelley Fishel’s eBook Outlook 2013 at bookboon.com
[bookboon-recommendations id=”0ccfb7e8-04f6-430a-a594-a34800d555dc” title=”You might also find these books interesting…”]