Best Word 2013 Tricks: Insert Tabs

Who doesn’t need to use Microsoft Word 2013 in their work? In this first part of our new Office Book series, take a look at how to insert tabs and tables. Don’t forget to open Microsoft Office Word first! Good luck!
This is the Insert Tab:

a. Pages

b. Cover Page

Selecting Cover Page allows you to insert a formatted front page into your document. Microsoft has a number of cover pages available that you can use and more are available online. You can design and include your own cover page by including a page in the Building Blocks. This is covered further in Advanced Word 2013.
To remove an existing Cover Page from a document, use Cover Page > Remove Current Cover Page.
i.Blank Page
This will insert an additional blank page in a document.
ii.Page Break
Use this button to move text onto a different page or insert a page break. Can also be done using the keystrokes Ctrl > Enter.
c. Tables
This button allows a table to be inserted into the document in one of five ways (click the drop down to get the options):
- Manually highlight the numbers of cells required in the table
- Click Insert Table – select number of columns and rows required in the table
- Draw Table – actually draw the rows and columns required
- Convert Text to Table – highlight text and reformat it as a table
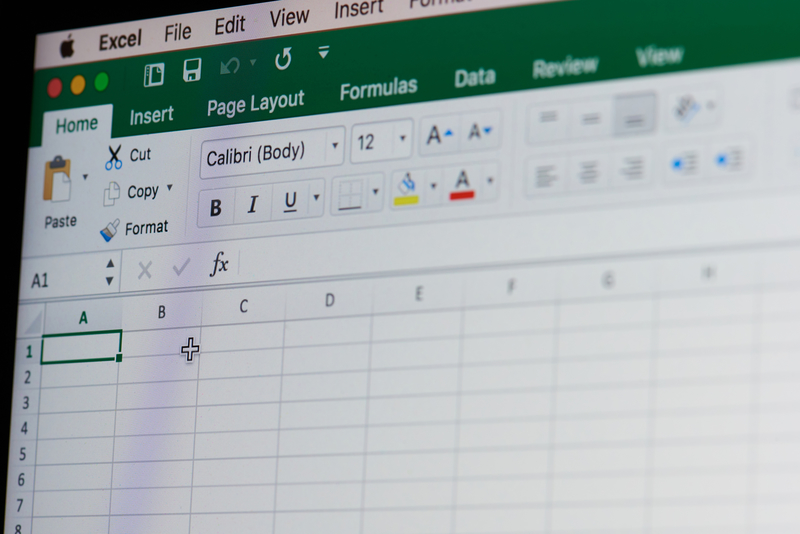
- Excel Spreadsheet – Insert a blank Excel spreadsheet which can be completed in Excel (with formulae, functions etc.) but included in the Word document
- Quick Table – select a preformatted table
Once the table is created in a document, two additional tabs will be displayed – Design and Layout. These tabs are covered in more detail in Chapter 12 in the eBook Word 2013 by Mary Thomas on Bookboon. Have a look at “Understanding the review tab in Word 2013” and “How to quickly create a chart in Excel 2013“.


